

Netlify is great!
Netlify is a unified platform that automates your code to create performant, easily maintainable sites and web apps. What I have come to love as a beginner developer is their Git-triggered continuous deployment build. They also provide full DNS, including custom domains and automated HTTPS. When you want to change the automatically assigned domain name to a one you already own and host elsewhere, then the steps in their documentation are a bit confusing. So here's a little step-by-step guide to configure your external DNS provider to point your domain to Netlify.
The Configuration of Your External Domain
Create a CNAME record for "WWW" with your DNS provider. Point it to your automatically provided Netlify address.

Add an A record. Depending on your provider, leave the host field empty or enter @. Enter Netlify's IP address: 104.198.14.52

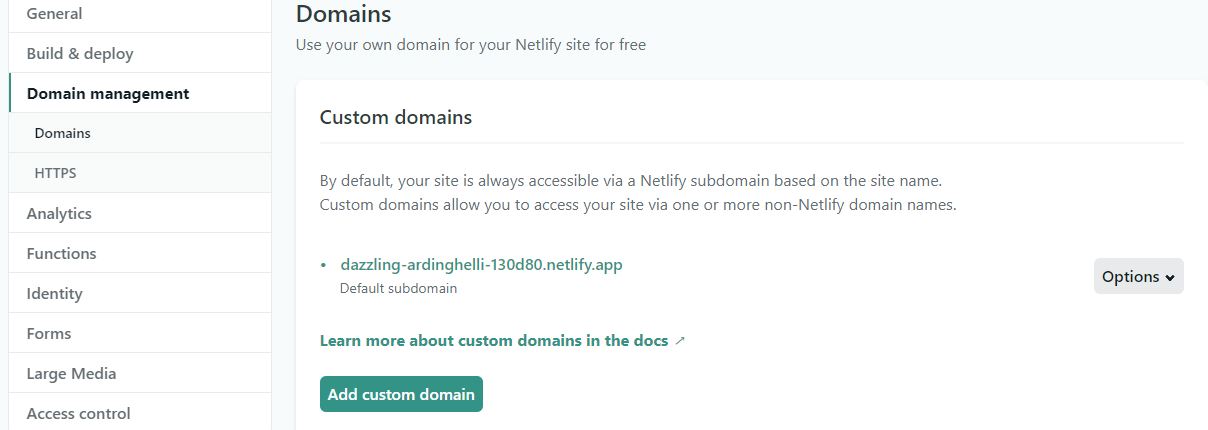
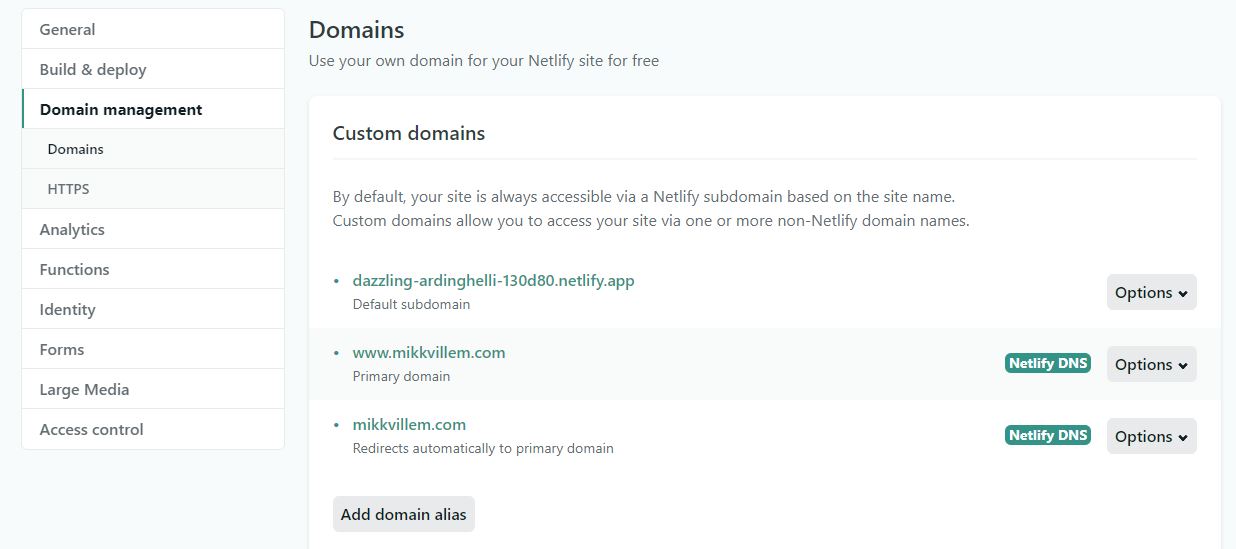
Add your custom domain name in Netlify DNS settings. Settings -> Domain management -> Add custom domain
You're all done! Note that the changes may take a few hours to come info effect.
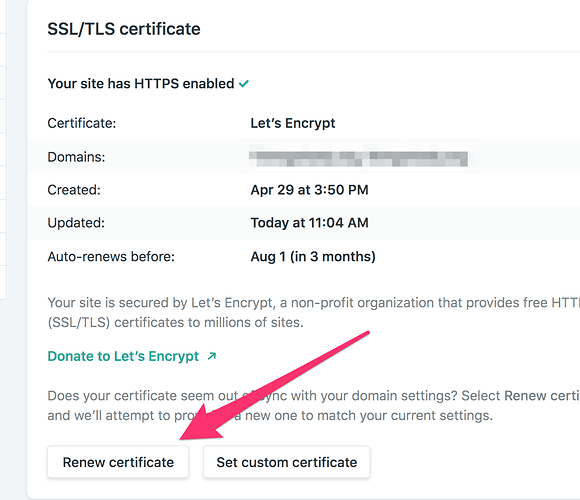
One last thing to do, to avoid the client browser from occasionally giving a domain mismatch security warning is to renew the Let's Encrypt certificate in the Netlify settings.
The Take Away
Now your site is live, deploys automatically from Gitlab/Github and has an automatic TLS set up. I mean this is very developer friendly. Great job Netlify!